Creating greys and blacks from colors in your palette will yield a richness and subtlety to your painting that is difficult to achieve by simply using blacks out of tubes. This exercise will give you practice mixing a variety of greys from the browns and blues in your palette. You’ll also get some practice in controlling your value range (light to dark) by using varying proportions of water to pigment.
The brown I’ve used in this example is BURNT SIENNA, and the blue is COBALT BLUE.

Step 1
To begin, set up a grid with four rows (horizontal) and four columns (vertical) of 1” squares, with about ½” between the rows and columns as shown below. I put masking tape between the rows and columns so I could make the squares neat without having to paint too carefully.

Step 2
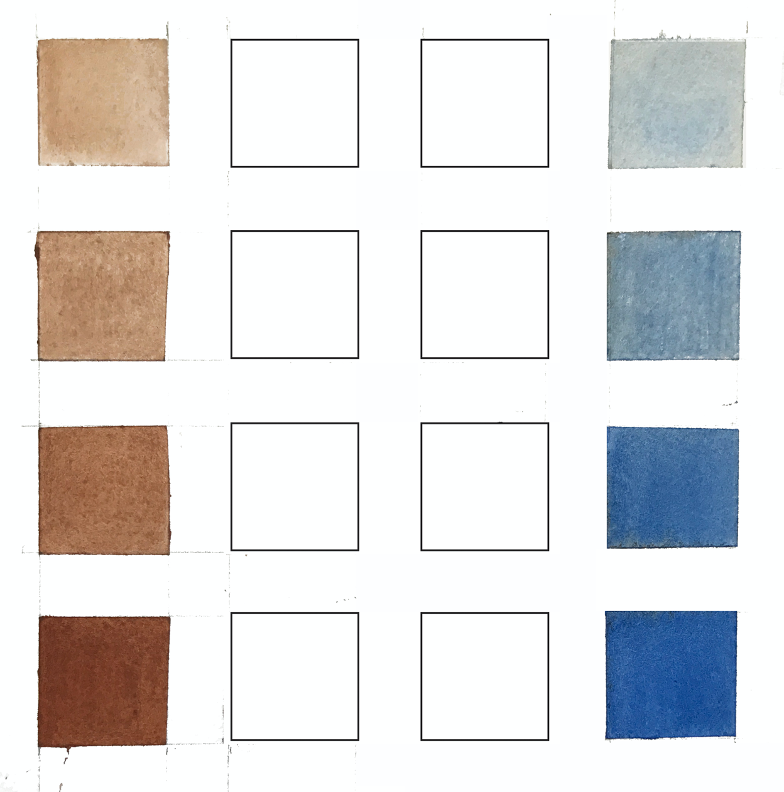
Paint the left-hand column with BURNT SIENNA, making the top square the lightest value and the bottom square the darkest.
Then paint the right-hand column in the same manner using COBALT BLUE.
Step 3
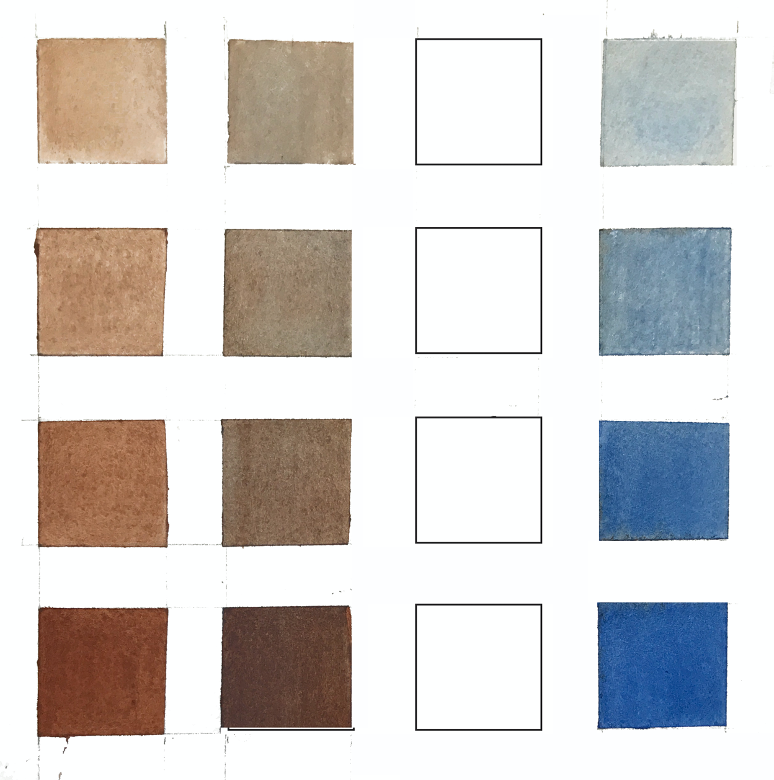
Paint the middle columns with mixes of BURNT SIENNA and COBALT BLUE. You can do this in two ways:
1) by blending the mix on your paper. For this method, you’ll want to paint one square at a time, so your paint stays wet enough to blend. First, paint the square BURNT SIENNA. Try to make the value of the BURNT SIENNA as close as you can to that in the same row of the left-hand column. Then, while the square is wet, add COBALT BLUE so that the resulting mix is bluer than the pure BURNT SIENNA, but still “warm” in temperature. You might want to experiment with this on scraps. Continue this process till you have all the squares in the column completed. As you move down the column, the color will be stronger, but you will want to keep the same ratio of BURNT SIENNA to COBALT BLUE—that is to say, your colors should retain their temperature.
2) The second method is to prepare your mixes on your palette, and then apply them to the squares. You might find this a bit easier, but you’ll still need to use your eye and judgment of “warm” vs. “cool” to achieve the effect. Again, you might want to test your mixes on small scraps.
You might like to try both of these mixing methods.
At this point, your grid should look something like this:
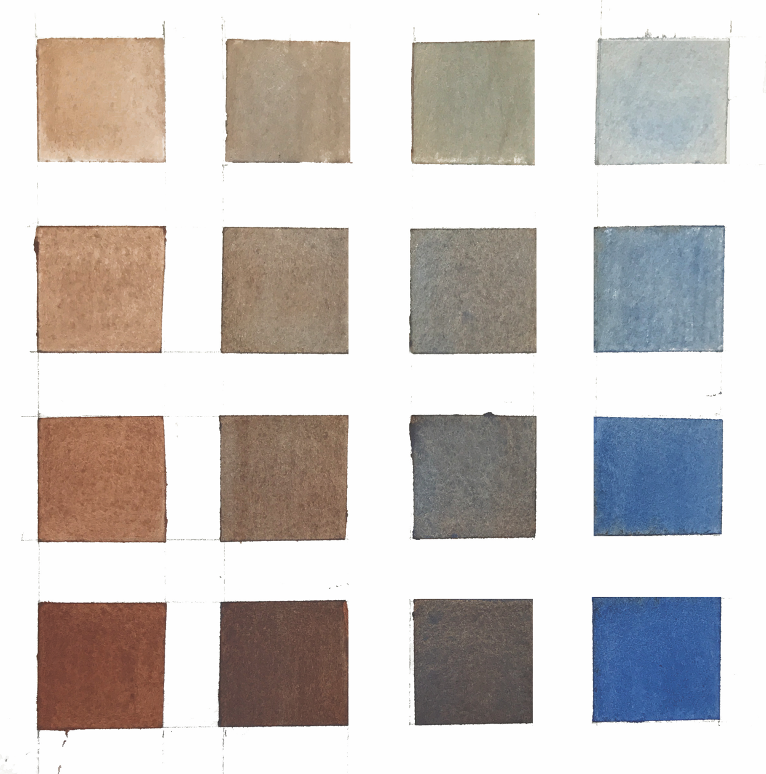
Repeat the process for the third column, but this time you’ll add more COBALT BLUE to the mix, so that you will get a color that is cooler than in the second column.
You’re done! Your grid should look something like this (the same as the one at the beginning of this exercise):
Don’t be surprised if you have to try the exercise more than once. But the more you do it, the better you get! 🙂
Okay, now that you are an expert, you can try making the same kind of grid with different brown and blue combinations. Some combinations you can try:
BURNT UMBER, ULTRAMARINE BLUE
BURNT SIENNA, PHTHALO BLUE (or PRUSSIAN BLUE)
WARM SEPIA, ULTRAMARINE BLUE
… and any other combinations you can think of.
AND … if you want a REALLY big challenge, try making five rows and five columns and see if you can create an even more subtle set of warm and cool greys!
When you have made some grids that you like, label them with the two colors that you used to make the combinations. Keep them handy, along with your other exercises and studies. You’ll find them useful for making good choices quickly for your paintings.